
Northrop Grummam B-2 Spirit
This is the Northrop Grummam B-2 Spirit. It's a plane straight out of the Cold War, designed to get through the Soviet's defenses and rain destruction in the form of nuclear fusion. It never did anything like that, but it has been used in the last three big military operations that the US took part in: Kosovo, Afghanistan, and Iraq.
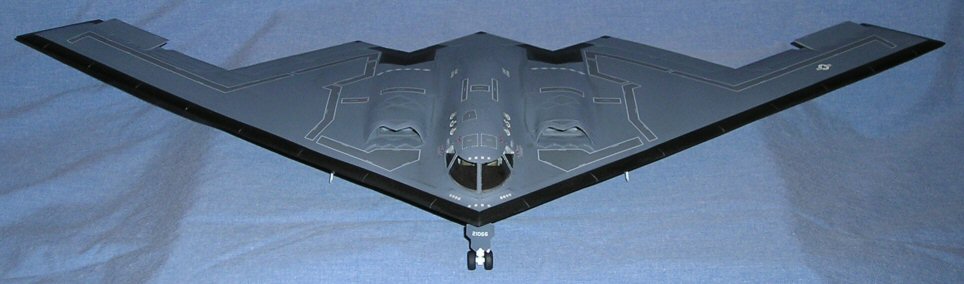
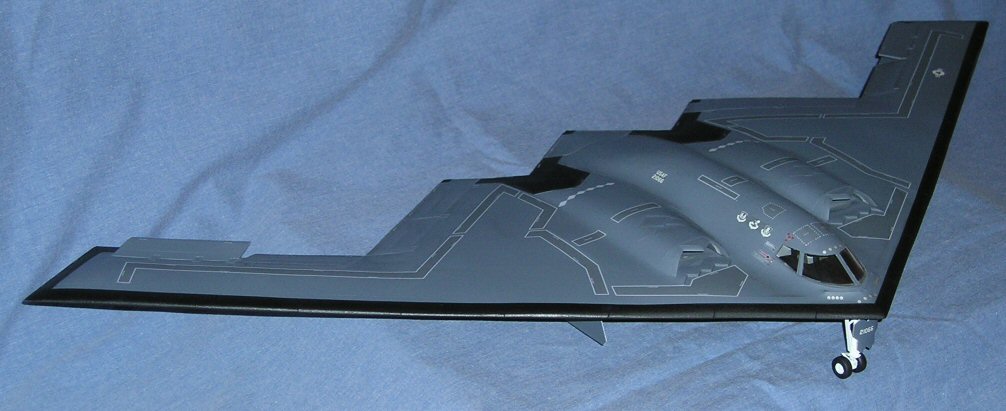
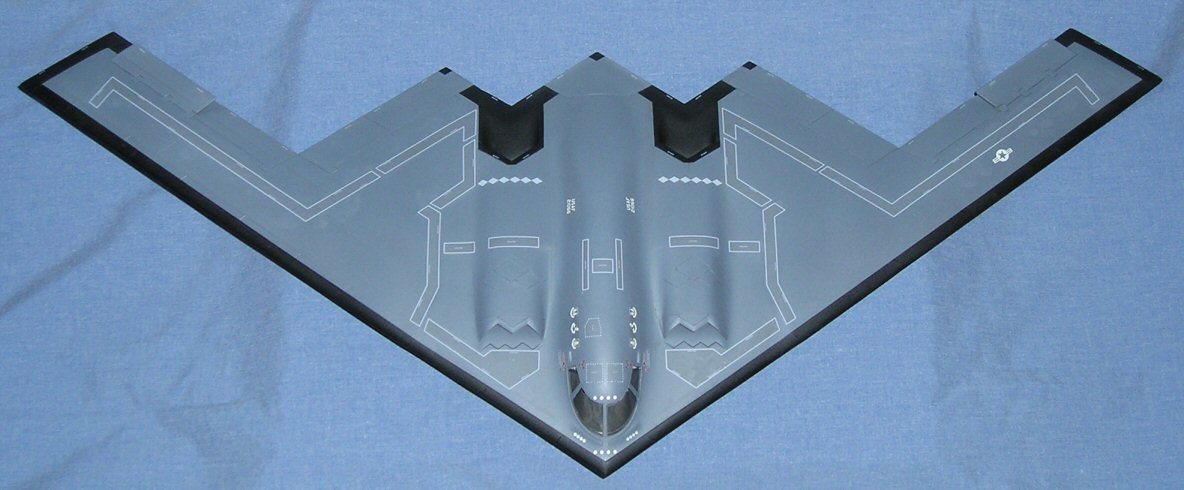
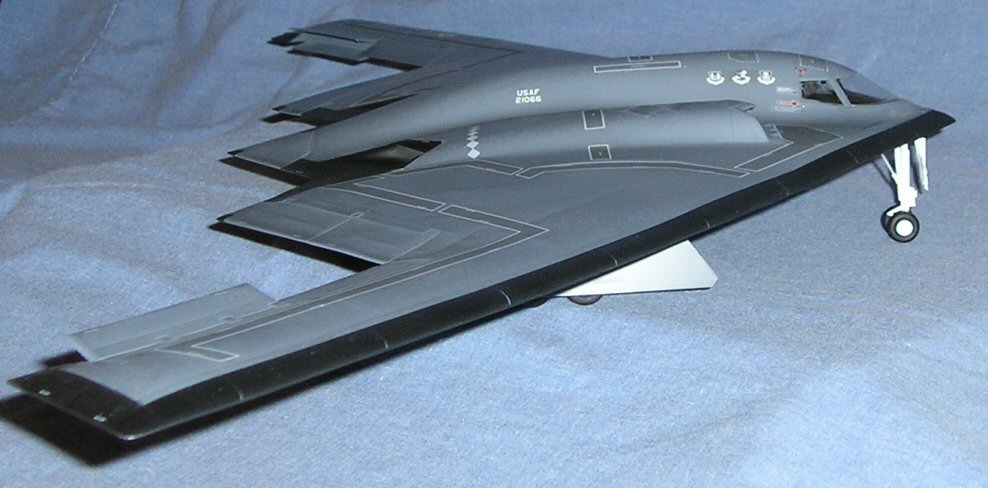
As you can tell, the plane is a 'flying wing' that has no vertical stabilizer. The flying wing design reduces drag significantly and reduces the radar cross section of the plane. Also, the large wing shape can hold a ton of gas, so the plane's range is very big. The bomb bays are between the landing gear, and can hold quite a few bombs. This plane was designed to be very lethal, and they did a good job.
This plane is one expensive plane. Wikipedia says that the cost of the plane is about $30/g, which is near double the value of gold. Of course, most of the cost came from research and development, so each plane doesn't really cost that much to build. Still, since you can't build a plane without R&D, you need to count those costs into the cost of the planes. The plane looks cool though, and let's be honest, that's what about 85% of the nation cares about.
The version I did was the 'rollout' paint scheme that the plane sported back in 1988. The black leading edge isn't used anymore, and some of the markings have changed. I always liked the black leading edge, and I wanted to go with it. My wife also likes the paint scheme, and was happy I went with it.
Building the Model
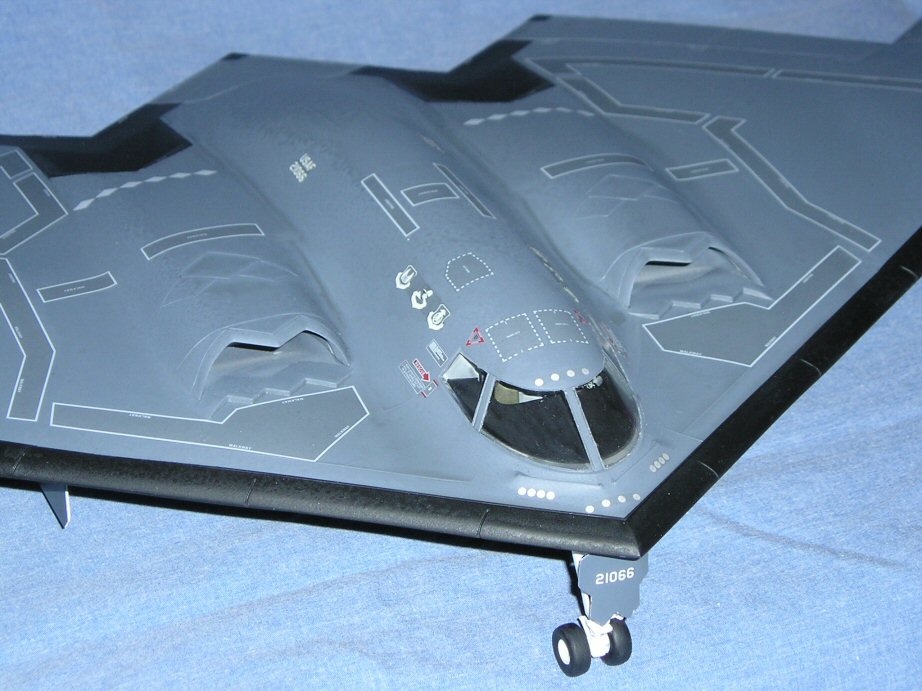
This is a Testors model, and the quality of the kit is so-so. The large wings tend to warp and fixing them is a pain. They also devised one of the more complicated wing attachment methods that I've seen. If you just glued the 'wings' on the 'body,' you'd end up with huge gaps and mis-aligned parts. I had to glue on several alignment tabs made from strip styrene, and even them I had to fill large gaps with putty. To top it all off, they didn't even use engraved panel lines. All those lovely lines get sanded of when you have to fix the horrible seams!
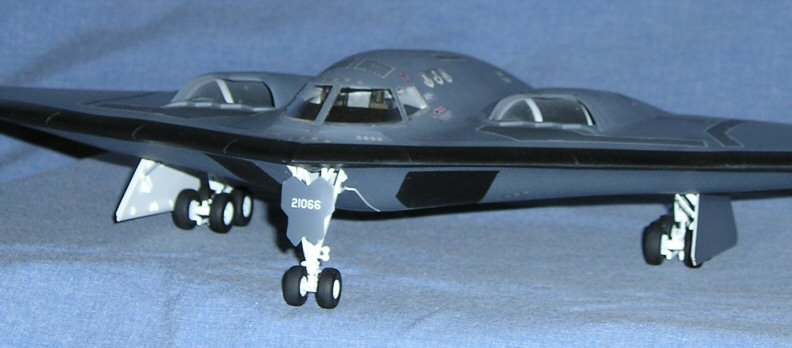
Another issue I have with this kit is the lack of detail in the wheel wells and bomb bay. Totally lacking would be a nice way to put it. There is no detail. None. At. All. Just smooth walls and a few holes to glue landing gear into. They claim that they didn't have pictures to base the details on and didn't want to get them wrong. Well, getting them wrong looks a hell of a lot better than blank walls! Seriously. How hard would it be to make wheel wells that you had to glue onto the plane that could be replaces with a more accurate version once you get the pictures? Talk about going the cheap route. What really underlined the cheapness is that they modified the wing attachment posts from an earlier version, but didn't bother to fix the wheel wells.
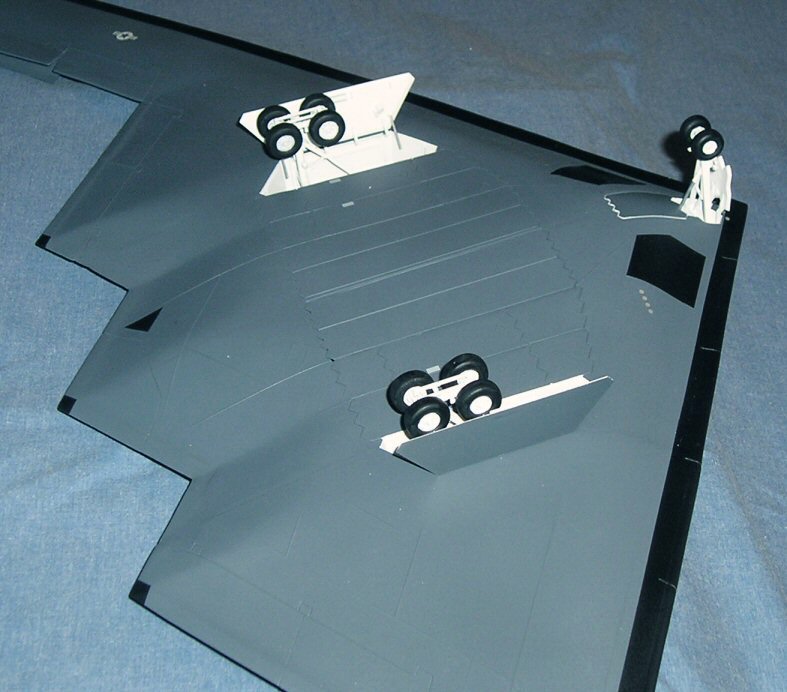
Ok, enough complaining. I should have rescribed the panel lines, but I was lazy. (It's really hot in the garage during summer.) But I did make nice clean seams, fixed the wing warp (for the most part), and added some minimal details to the gear bays. They look better than blank boxes, but I'm no detailer. I wish someone made a detail set for this model, I would have bought it in a heartbeat.
Painting and Decals
After the seams were finished, I painted the the gunship gray and the black paint. Things were going well until I did my gloss coat. I didn't put enough on. I should have spent the time putting more than one coat on the model, but I hadn't done a gloss coat in a while so I forgot the little things.
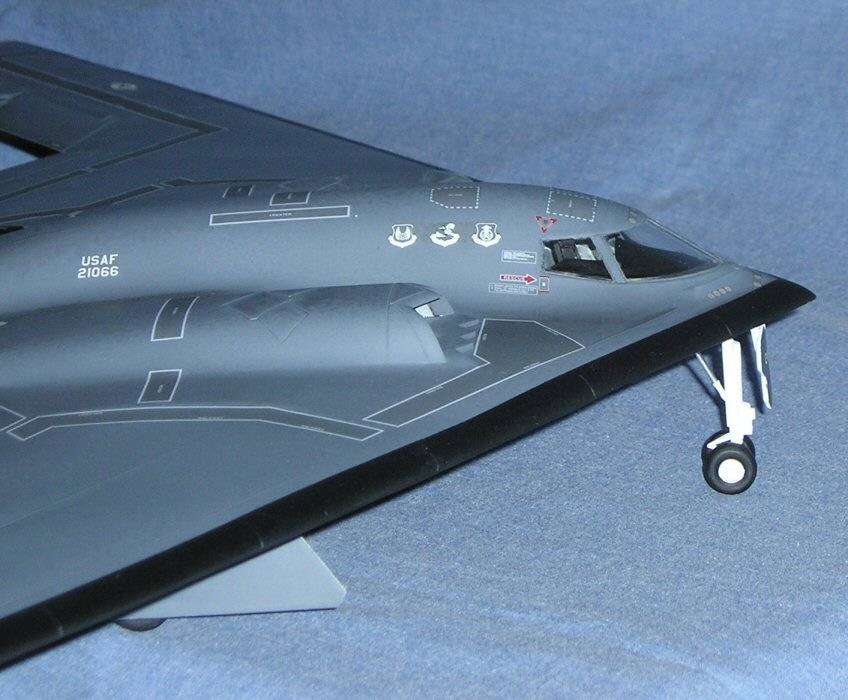
The decals for this model were big. Almost all the boxed are one big piece. The wing tips had decals in two parts, but they still were very long. Clear decal film can always be a pain, but the decals went on fairly well with the Micro Set and Micro Sol I use. There was a little silvering, but not much. The biggest problem was that the texture difference between the decals and the non-decal part is obvious. But that's from the not so great gloss coat.
Also, because the gloss coat didn't cover evenly, you can see changes in the finish where I didn't do a good job. I rushed the process, so I got what I deserved, but I'm still a little disappointed. I thought the gloss coat didn't look quite right, but I didn't take the time to fix it. I probably could have saved myself afterwards by putting on another gloss coat, but I didn't. Oh well.
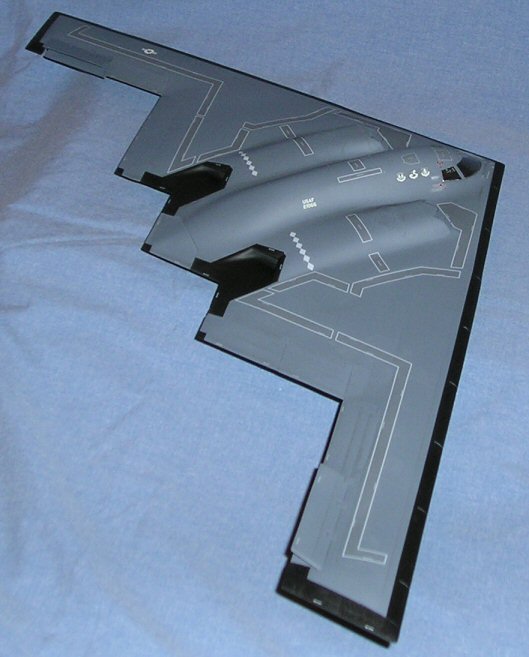
This is a big model. I almost didn't have room to fit it anywhere. Fortunately we managed to find a little space on top of the bookshelf, and it looks good there. Like I said, my wife loves the paint scheme, and overall the model turned out decent. I'm no competition winner, but my models are nice to look at and this one fits in.