USS Enterprise-D
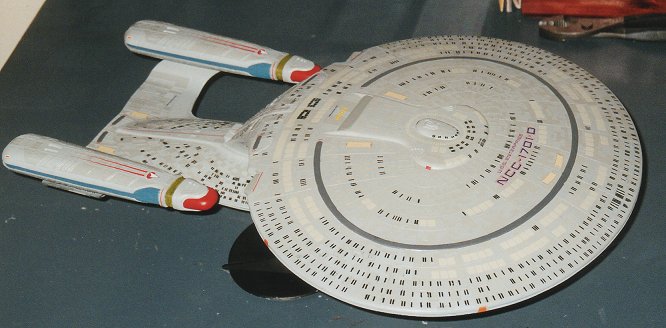
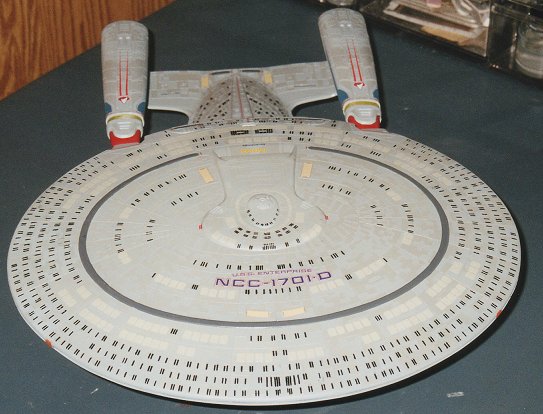
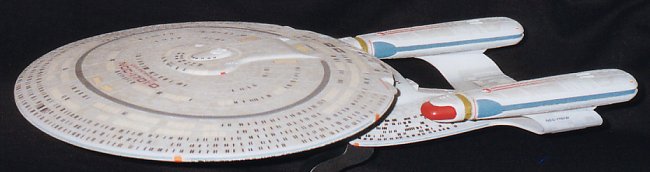
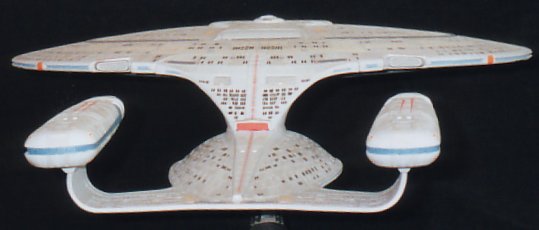
This is the USS Enterprise-D from Star Trek: The Next Generation. The model was designed to come apart, and could be displayed separately if you wanted. It was a good model at the time, and is still sold on eBay for a decent price.
I originally got this model back when I was in middle school. Some time around 1990. (Wow, it's that old?) I had painted it according to the painting instructions that came with the kit. It was molded in blue, and I painted the 'aztec' pattern in Duck Egg Blue. The colors were based on the studio model, but it looks different on the TV. I thought it looked cool at the time, but as I gained experience it started looking less and less attractive.
After a couple moves and a few repairs, I finally decided to re-paint it. I managed to acquire another set of decals and the painting instructions, so I was set.
Construction
I started by stripping off all the paint and decals from before by using Easy Off oven cleaner. Wow is that stuff strong! I wore rubber gloves and I did it in a well ventilated area. If you don't use gloves, you'll burn your hands badly. It's actually a very strong base in the oven cleaner, and strong bases do the same thing as strong acids; they'll eat you alive. I got a couple drops on my skis when I was scrubbing the plastic with a small brush, and WOW! It burns in seconds. So be extra careful. I would also recommend wearing a breathing mask. The fumes are pretty strong, and I probably should have too. Oh well.
To clean a model off this way, here's what you do. First, spray a coating of East Off on the surface you want to clean. Do this over some newspaper or some other disposable covering, and do this outside! You don't want the overspray to ruin your nice brick walk, and the fumes are pretty strong. Let it sit outside for 30 minutes to an hour. Then in a large bucket or tub, gently scrub the model with an old nail brush or toothbrush. Wear an old shirt, old pants, rubber gloves that go far up your arm, a breathing mask and safety glasses. Any spray that gets on you will burn you in seconds, and you sure don't want this in your eyes. If you do get some on you, wash it off with plenty of water as quickly as you can. Also, clean the area with soap. The oven cleaner is still pretty strong after this time, so be careful. After you scrub for a little, you'll see the clean plastic show through if the paint isn't too thick. If the paint is really think, you may have to do this a couple times. But when you are done, just rinse it off with water. The plastic shouldn't be damaged by the oven cleaner, and the paint will be gone. I'd also read the can on Easy Off to see how to dispose of the waste correctly. No need to damage the environment if you can help it.
Just a note, this is a pretty drastic way to clean something. Only do this if you are absolutely sure that it's the only way to clean it. Please ask your parents if you are a minor. I don't want any of my fellow modelers to get hurt.
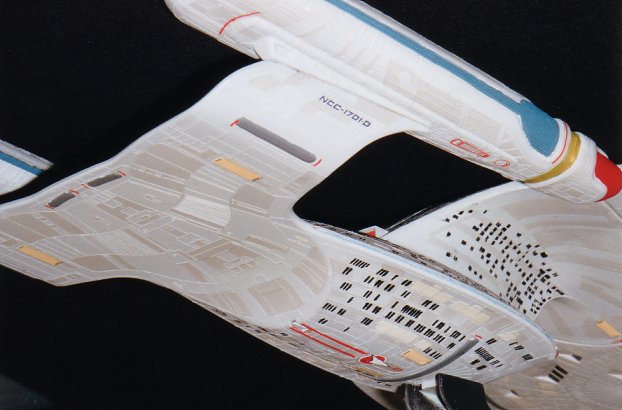
After I got it cleaned off, I disassembled it into the major sub-assemblies. I cleaned up all the joints and then re-assembled it into to four major sub-assemblies; the saucer, the warp engines, and the secondary hull. I filled in all the gaps that the model had and then got it ready for it's first coat of paint.
Painting and Decals
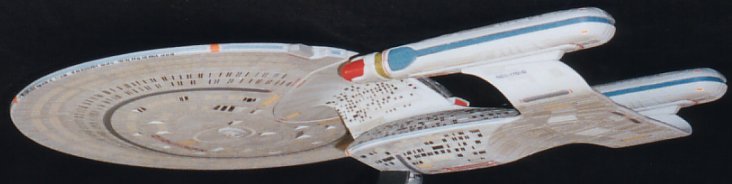
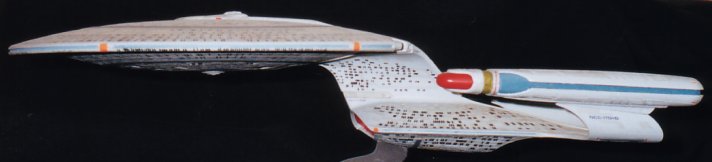
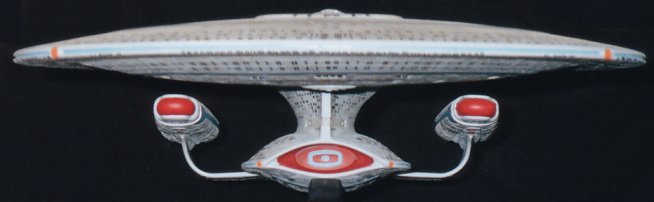
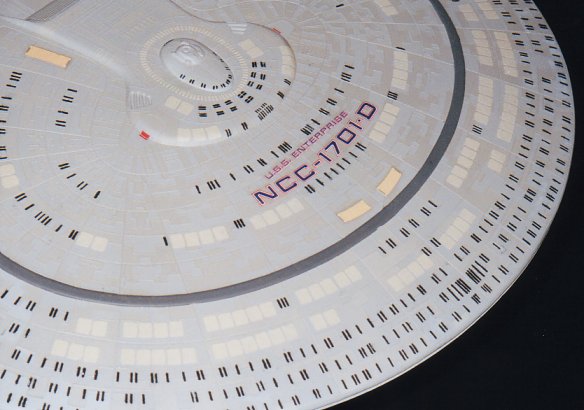
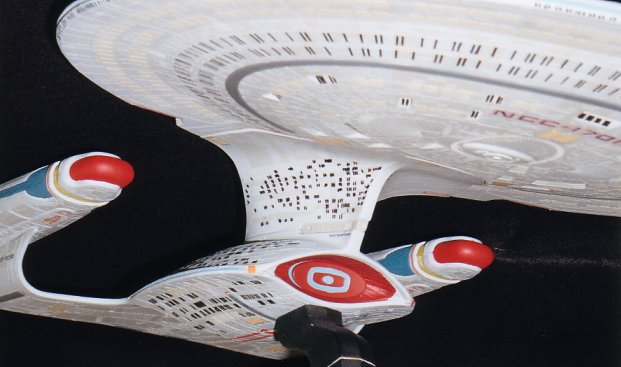
The paint scheme is the same as all my other 1/1400 scale ships. My Voyager or my Honshu pages have pretty good paint schemes if you want to look them up. One difference is the blue for the nacelles. I used '35109 FS Blue' from the Testors paint line. I think it came in the figures painting line, but it's exactly the blue I tried to get every time on my other models. I also used this blue for the sensor strips and a slightly lightened version on the deflector dish. The aztecing is all done by hand. I could have masked it off, but the raised lines made it easier to paint, and the time it would have taken to mask it off would have been longer than hand painting.
I then 'painted' all the windows on using an ultra-fine ball point pen. It worked great up to a point. The ink is water soluble and it dries super slow. I had to be careful not to touch windows that were just painted, or I would get black finger prints all over the ship! And then, when I air brushed on the clear gloss coat so I could get the decals on, it splattered! I had little black dots all around my windows! I almost passed out when I saw that. Well, ok, I just said a few choice explicatives and tried to figure out how to cover it up.
I decided to go ahead and put on the decals and figure out how to fix my problem later. The decals went on with out incident, so I thought my luck was changing. I decided to try painting over the bad sections of black dots and hope that when I did the flat clear coat, it would all blend together. I lucked out. After I got my last clear coat on, the dots all seemed to go away. But you can still see them if you look at it close. Some of the pictures even have them. Oh well, lesson learned. It turns out that there are artist's pencils that are small enough to fit in the windows, and next time I painted a ship with windows, I used one of those.
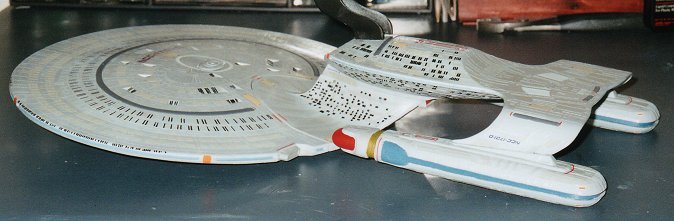
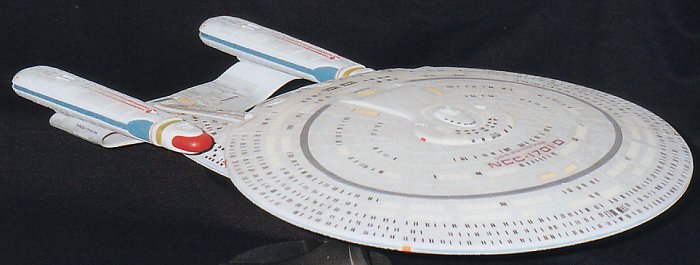
Overall, it turned out pretty good. The stand is the one that came with the model, and it kinda sucks. The ship leans forward because the center of gravity in the saucer, not the engineering hull. The stand works though, so I probably won't do anything about it for a while. To be honest the whole model actually is kinda bent. If you look at the side views, you can see that the saucer and secondary hulls don't quite line up right. AMT/ERTL made the model that way, so there is actually little to do about it. I though about re-building the connecting neck, but I decided to just leave it as is.
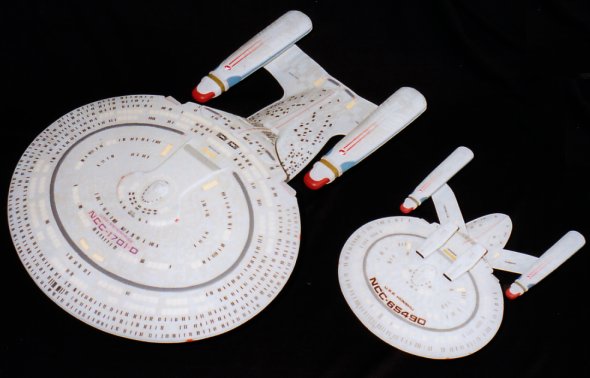
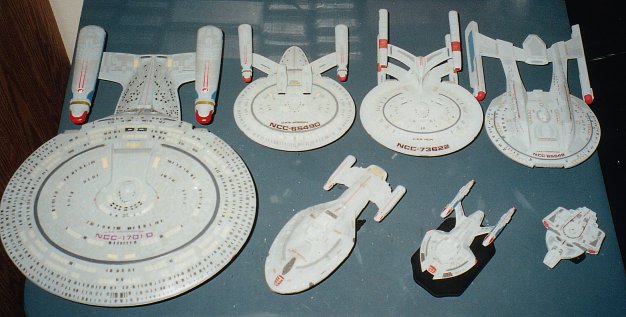
Here are a few family pictures. The one on top is with my USS Honshu. I finally got a good comparison of the two ships. They look really cool on the shelf together too. The picture on the bottom is the whole 1/1400 fleet at the time I finished the Enterprise-D. My next addition to it was probably be my Nebula class ship and there are more family pics there.
Here are the previews that I took before I released this page. They haven't changed, but I thought you would like a few more pictures.