
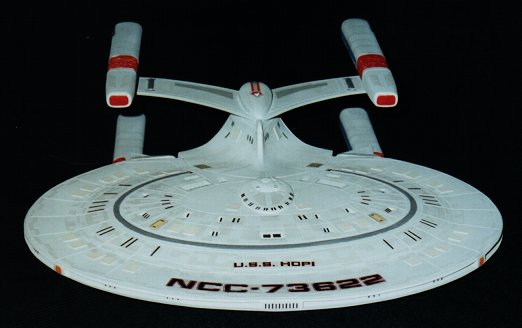
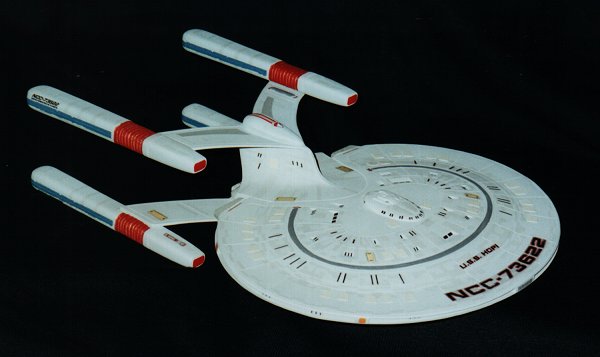
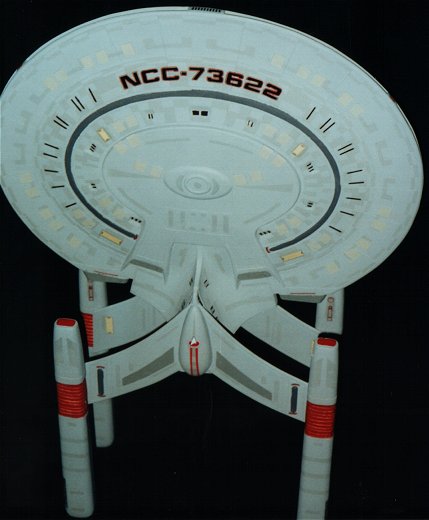
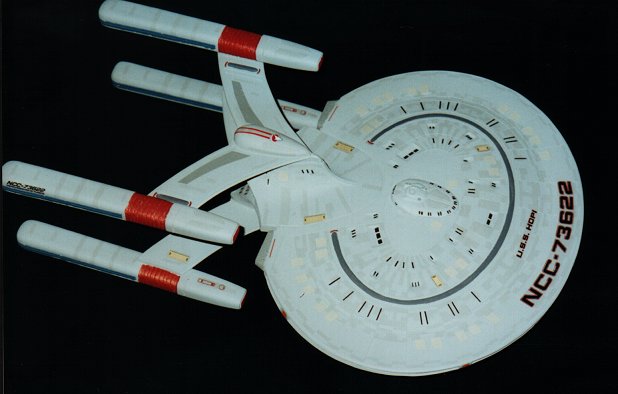
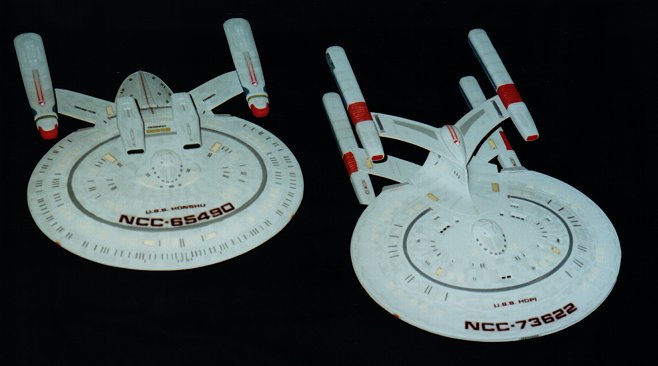
Star Trek: USS Hopi
This is another ship based on the ships from the Battle of Wolf 359. It was also a kitbash from 1/12500 scale Enterprise-D and 1/1400 Enterprise-D parts. There was only one picture of this model that ever made it out to the public that I had to base my work off of that and a reconstruction found at Ex Astris Scientia. It wasn't as hard as the Honshu, but it was just as fun. Lately, there has been another picture released at Ex Astris Scientia, it doesn't show much more than the original picture. If you are looking for these pictures, they are in the Star Ship Articles link on the left.
Construction
The construction process was pretty simple to do, but it took a while. First, I removed all the raised paneling and turned in into recessed lines like I did on the Honshu. I then had to remove the back of the connecting neck from both of the top parts of the 1/2500 scale Enterprise-D saucers. I glued them on the lower halves of the saucers so I could figure how much space to put between them. In order to get a good sized gap between the two halves, I glued in some spacers close to the edge and then glued a couple long pieces of .030 x .125 inch styrene strips around the edge to make the 'sensor wall.'
After the strips were firmly in place I glued the halves together, making sure that they lined up properly. I cut out the section for the impulse engines and glued on some .015 x .188 inch strip styrene to close the gap I left behind. The impulse engines are just resin copies of the 1/1400 Ent-D's saucer engines. I used some more .030 strip styrene to 'build' the RCS boxes and the observation deck in front. After gluing on the resin copy of the 1/1400 bridge and using a little putty to smooth everything out and I was ready to work on the bottom 'bulge.'
I cut out one of the shuttle bays from the 1/2500 Ent-D'd top and used it to make the bays below. After I got the size I wanted, I made a resin copy of it for the other side. I glued these on and then used some .080 inch rod styrene to make the edge of the bulge. After I got the outline in place, I glued in some spacer styrene pieces in the center and then used pieces of sheet styrene to close the thing up. I made a resin copy of the 1/1400 scale Captain's Yacht and glued on the center of the bulge. Some more putty and some engraved lines and I figured it looked good.

The pylons are actually one big piece of styrene. I glued two pieces of .020 inch thick sheet styrene cut to shape to make each pylon set. I got the shape from scaling the diagram I got from Ex Astris Scientia to the right size and tracing the outline. I glued them right to the necks and used a little putty to fill any gap. The real hard part for this model was how to make the bubbles in the center of the pylons. I looked all over for ideas and I finally figured to use the top parts of the Excelsior model's nacelles. The front and back end caps were just about the right shape, so I did a little cutting and sanding and I managed to get a bubble close enough to the picture to make me happy. I glued them on and got to work on the nacelles.
The original nacelles from the study model were made from Stablio brand highlighters. They had some sort of grip section in them to make good looking warp engines, but the only ones I could find were smooth. (I ended up seeing some grooved ones on a trip to Germany, but it was too late then. Go figure.) The plastic the pens are made out of was hard to work with, so I made some a resin copy of pen (minus the clip on the end) and worked with that. I sanded and cut in some groves and then made 4 copies of that piece. It ended up working pretty well, but I ended up making a new master piece so when I make other nacelles of this type, they'll look better.
Painting and decals
After I glued the nacelles on, I was ready to paint. It's the same basic scheme as the Honshu, with the shuttle doors and the stripes on the nacelles being Dark Gull Grey. The reddish-brown section on the nacelles is actually about a 50/50 mix of gold and red, slightly favoring the red. Copper would have worked fine, but I didn't have any at the time. I used some decals from the 1/2500 scale Ent-D for the transporter emitters, RCS thrusters, and the Starfleet pendants. The rest came from McDaniel Models. He also made the window decals that I had to put on one at a time. (They were left overs from the Honshu model.) It took forever, but the windows looks nice and crisp.
This model was fun to build and was worth the time and effort, and it looks great with the rest of my ships. If you have any questions, please feel free to e-mail me and ask. I also left the preview pictures for you guys so you can see some of the construction and get an idea of what I am talking about.