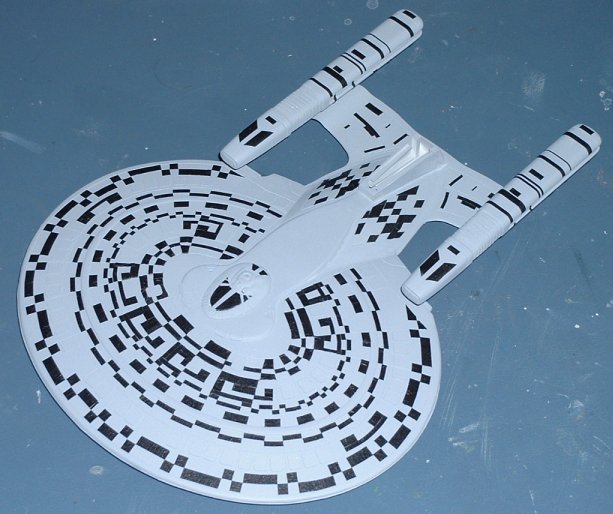
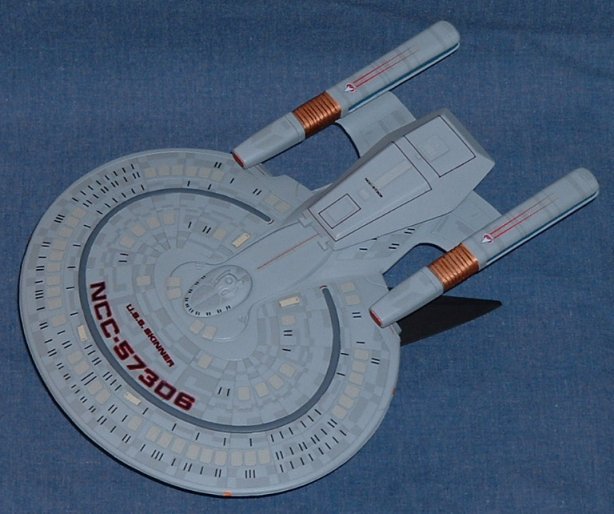
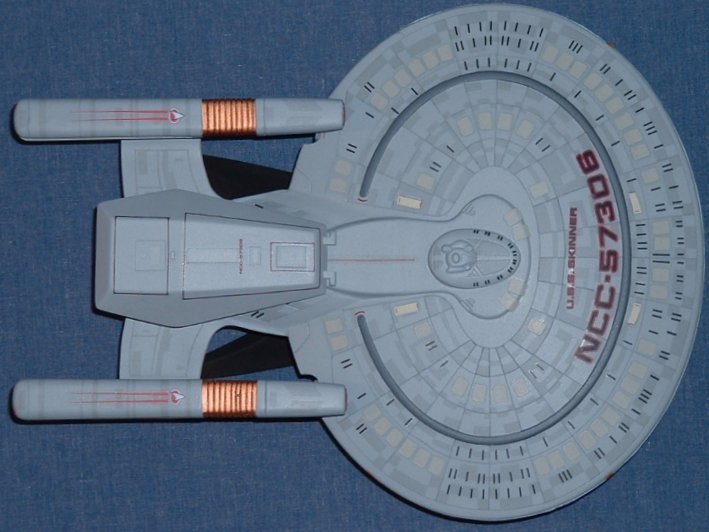
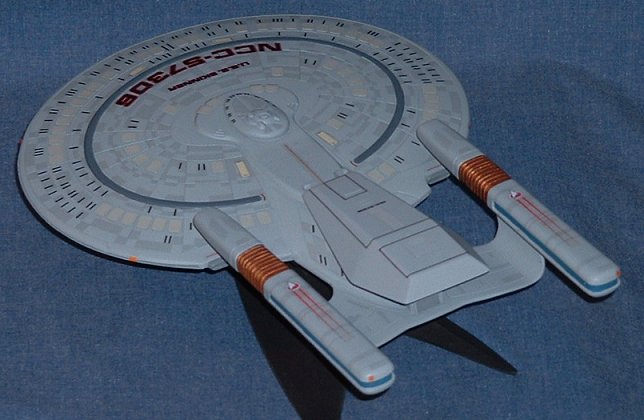
USS Skinner
This is the USS Skinner, a Springfield class ship. In the graveyard scene from the Star Trek: The Next Generation episode The Best of Both Worlds, you can see several mangled ships and this is a copy of one of those ships. I only had a couple pictures and a couple e-mails to go by. Some people online have made a hobby of reconstructing these ships, so that was a big help.
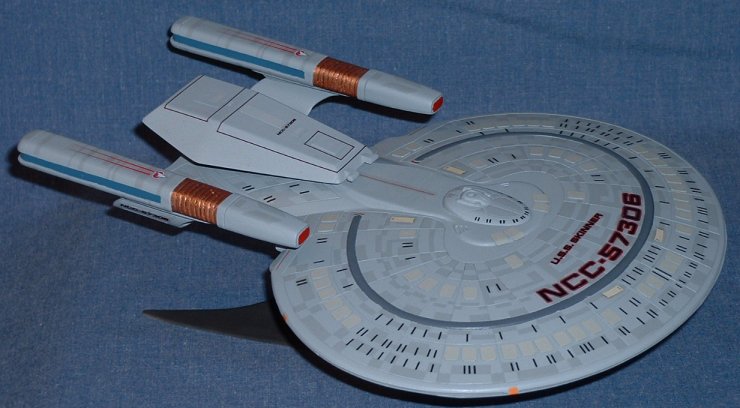
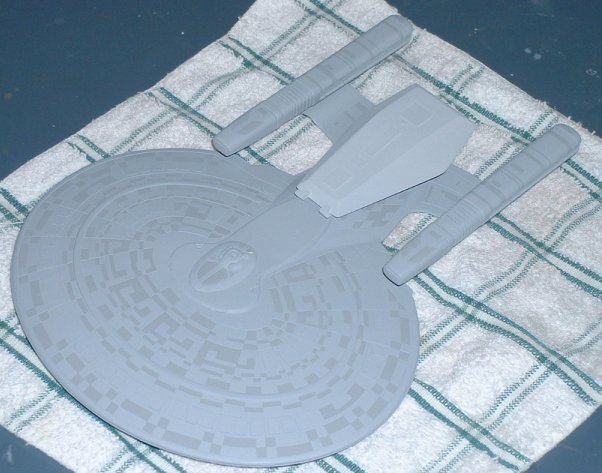
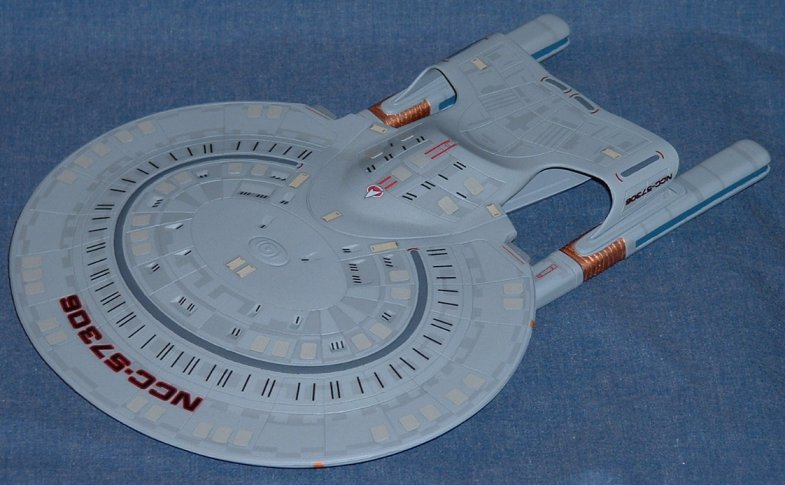
This ship was actually not that hard to build. It only takes one 1/2500 scale Ent-D, the bridge form the 1/1400 Ent-D, and a couple markers for nacelles. I have better warp nacelles, but I had to make them myself. I started out by first taking a hobby knife with the tip broken off and scribed lines on the saucer using the raised panned lines as guides. I then removed the raised lines and re-scribed the lines using a scribing tool to clean the lines up. I just removed the secondary hulls panel lines since I need to have the ship in one piece before I could scribe them. I then removed the neck from the saucer section all the way up to the saucer leaving very little behind.
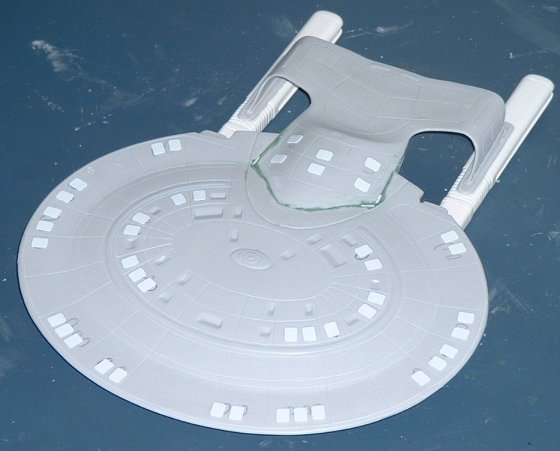
I glued the saucer halves together after I removed the small bridge and added the bigger one. Then I did the only real hard part: removing the forward part of the secondary hull. I used the pictures and a couple diagrams to figure out where to cut the secondary hull and drew a couple guide lines on the two pieces. I didn't glue them together yet, because grinding down the parts would be too difficult if they were together. It took a lot of test fitting and grinding with a rotary tool to get them to fit properly, but you can see on the old pictures below that I got a pretty close fit.
After I got the secondary hull halves shaped right, I glued them together and then glued them to the saucer. One side was a bit short on the top, so you can see the white strip of styrene I used to fix the problem. I also added the larger piece of styrene on top to connect the top of the secondary hull to the area where the shuttle bay used to be. A little putty and some sanding smoothed out all the joints, and now that the ship was in (mostly) one piece, I added the panned lines to the secondary hull using a scribing tool and thin pieces of label-maker tape as guides.
Other Parts
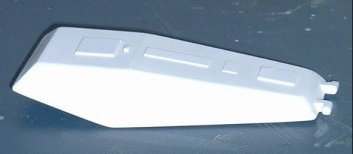
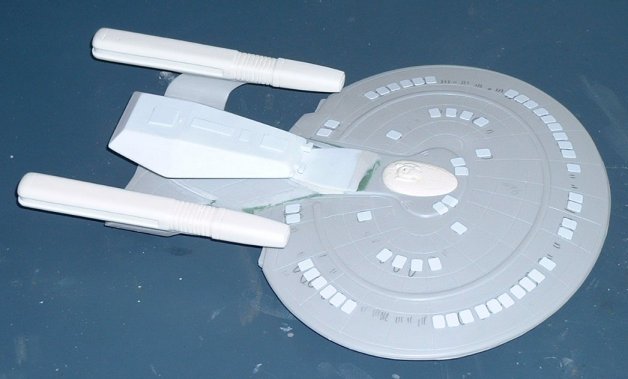
The pod was also a little difficult. But I made a scale drawing of the pod I wanted, and I made my parts going off of that. I used the drawing as a guide and then cut out my pieces. I added in some supports to make them stay together. Once I got all but one panel glued together, I filled the pod with a bunch of small bits of the spruce form old model kits and then resin to make it solid. After the resin fully set, I sanded all the panels and edges to round them off. I added a few pieces of details and I had my pod.
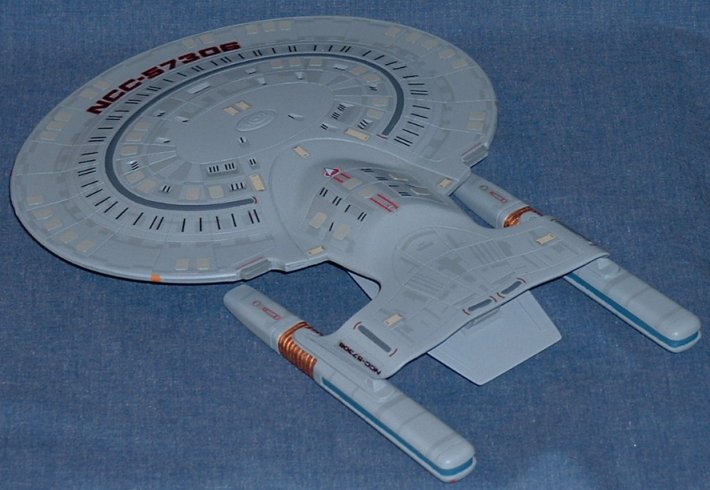
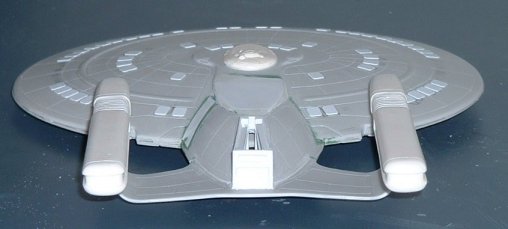
To make the pod support, I cut out some of the secondary hull and put some panels in place to make a mount similar to the Nebula class's pod mount. I added a shuttle bay in the back and some details around it, since every ship needs a shuttle bay. To make the nacelle mounts, I used the bottoms of the kit's nacelles and remove everything but a thin section to connect to my 'markers.' The nacelles are resin copies of a master I made from a Stablio brand highlighters. I added some detail to make them look more like nacelles than markers.
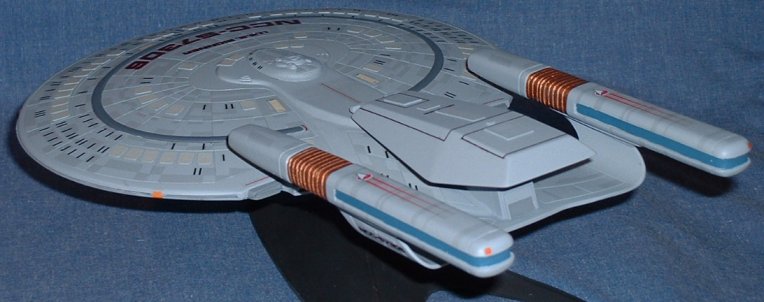
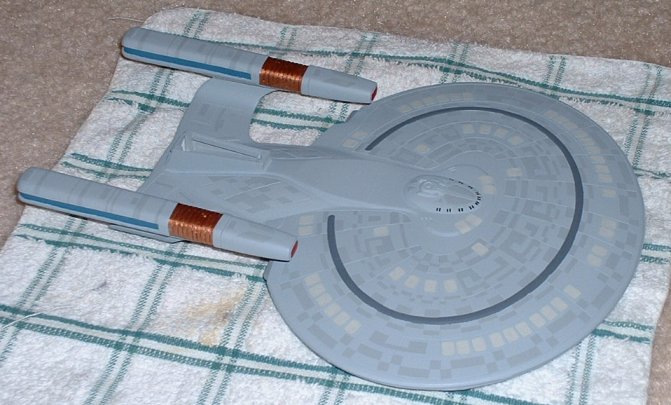
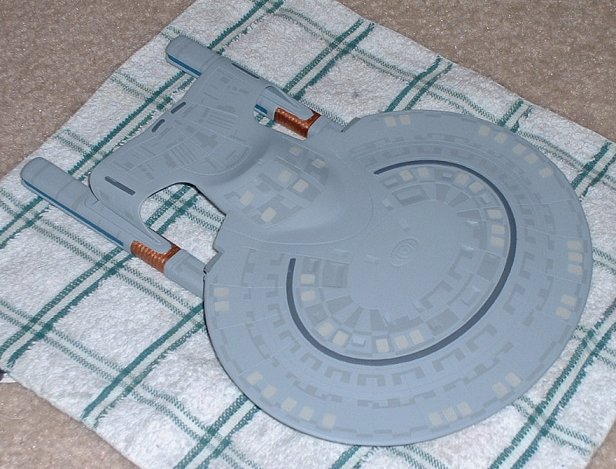
After I glued the nacelles on, I painted the base coat. It's my typical scheme, with light ghost gray with slightly darker highlights. I made the name, registry, and window decals for this one, and used the decals form the 1/2500 kit for all the other details. This time the decals I made worked fine. I don't know why they didn't work for the Princeton, but sometimes things just don't work the way you want them to.
Construction Pictures
Below are all the pics I took while I was working on it. You can see some of what I was talking about and see how I make my aztec pattern. Just so you know, that aztec pattern takes a long time to do, but it's worth it.